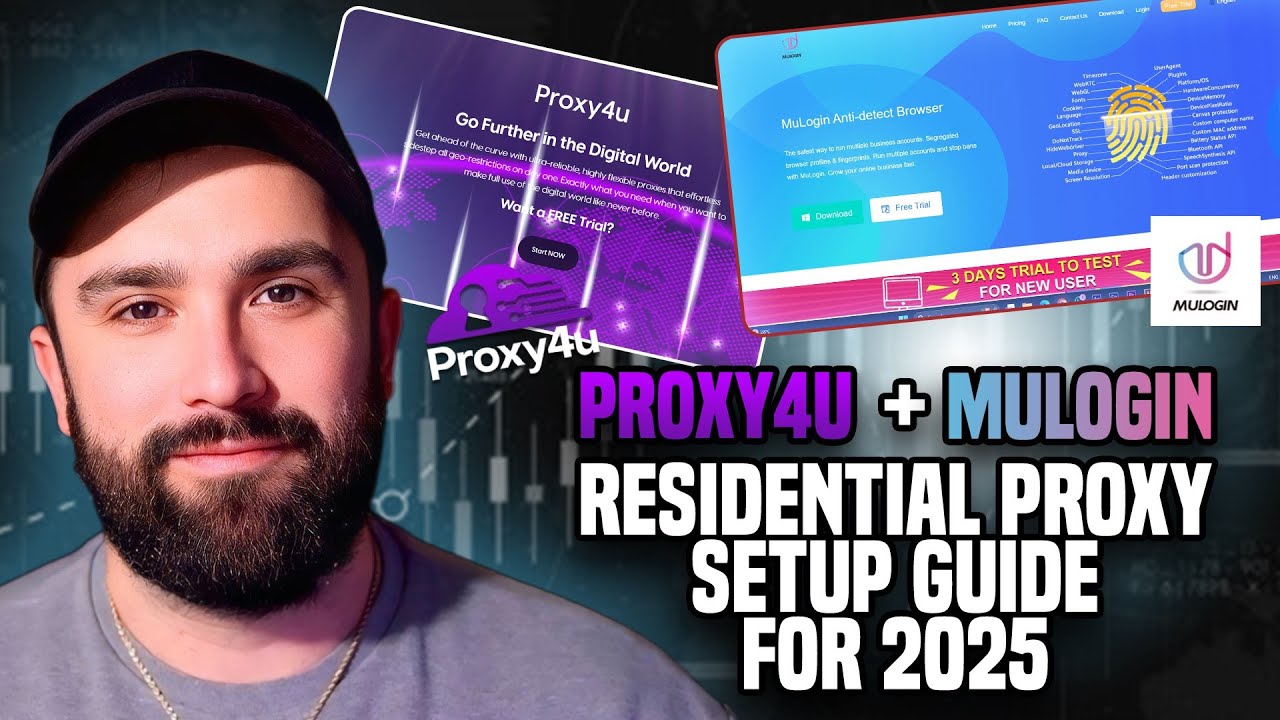
When you utilize anti-detect browsers or run multiple accounts for marketing, e-commerce, or scraping, pairing Mulogin with a reliable residential proxy is the must. In this tutorial I explain why a proxy is crucial, what Mulogin provides, and how to add a Proxy4U residential proxy inside Mulogin for secure, geo-flexible browsing. For maximum benefits, visit Proxy4U and do as per the quick setup guide below.
Why use Mulogin with a residential proxy?
Mulogin is an anti-detect browser that gives you isolated browser profiles, fingerprint protection, and account management tools. Running multiple accounts without proper isolation can trigger bans. Adding a residential proxy hides your real IP, lets you appear to be in other countries, and prevents fingerprint and IP-based linkage between profiles.
Key benefits
- Run multiple accounts safely with separate browser fingerprints.
- Use geo-targeting to access region-restricted services or test ads in different markets.
- Pay-as-you-go residential IPs for flexibility and cost control.
Proxy types to consider
Proxy4U is a company that provides different types of proxies such as residential, data center and mobile. If you want to have a real-life browsing experience and not experience much blocking, the choice is residential proxies. They have a massive database of IPs across more than 195 countries and also allow you to rotate IPs with configurable intervals.
Step-by-step: Configure Proxy4U inside Mulogin
- Create or log in to your Proxy4U account and open the Residential proxies section.
- Select the country you want to emulate. In this example I choose Brazil and set rotation. Pick a rotation interval (5 to 25 minutes). I used 10 minutes and enabled sticky sessions for stability.
- Save the configuration. Proxy4U will display connection details: host name (IP or hostname), port, and authentication string in the form username:password.
- Open Mulogin and create or edit a browser profile (for example Chrome Windows).
- Scroll to Proxy settings and select HTTP. In Mulogin enter:
- Host: copy the hostname shown by Proxy4U
- Port: use the port number provided (example: 823)
- Username: use the part before the colon in Proxy4U authentication
- Password: use the part after the colon
- Enable network checking in Mulogin to confirm the chosen country appears. Save the profile and open it. Mulogin will launch an isolated browser window using the Proxy4U residential IPs, showing the target region and language.
Troubleshooting tips
- If the location does not match, double-check host and port and ensure username/password are entered correctly without extra punctuation.
- Try sticky sessions for longer consistent IPs when logging into sensitive accounts.
- Use a short rotation interval when heavy scraping and a longer one when maintaining sessions for social accounts.
Proxy4U stands out for flexibility and a wide country selection. If you need cost control, their pay-as-you-go gigabyte model keeps fees predictable. For anyone using Mulogin at scale, pairing it with Proxy4U is a practical way to protect accounts and expand geo-reach.
Final thoughts
Setting up Mulogin with a dedicated residential proxy from Proxy4U is straightforward and immediately improves account safety, geo-testing, and scraping efficiency. Follow the steps above to configure host, port, username, and password in Mulogin, verify the location, and you are ready to work securely across regions.
When it comes to having a safe and efficient browsing experience across multiple accounts in 2025, the perfect pair of tools would be Mulogin and a constructor for a quality residential proxy.. Do you have any inquiries? Please leave a remark and I will assist you with your installation troubles.


