
In this guide I’ll walk you through exactly how to link Proxy4U with ixbrowser so you can protect your accounts, mask your location and run multiple synchronized browser profiles with ease.
Why use ixbrowser + Proxy4U?
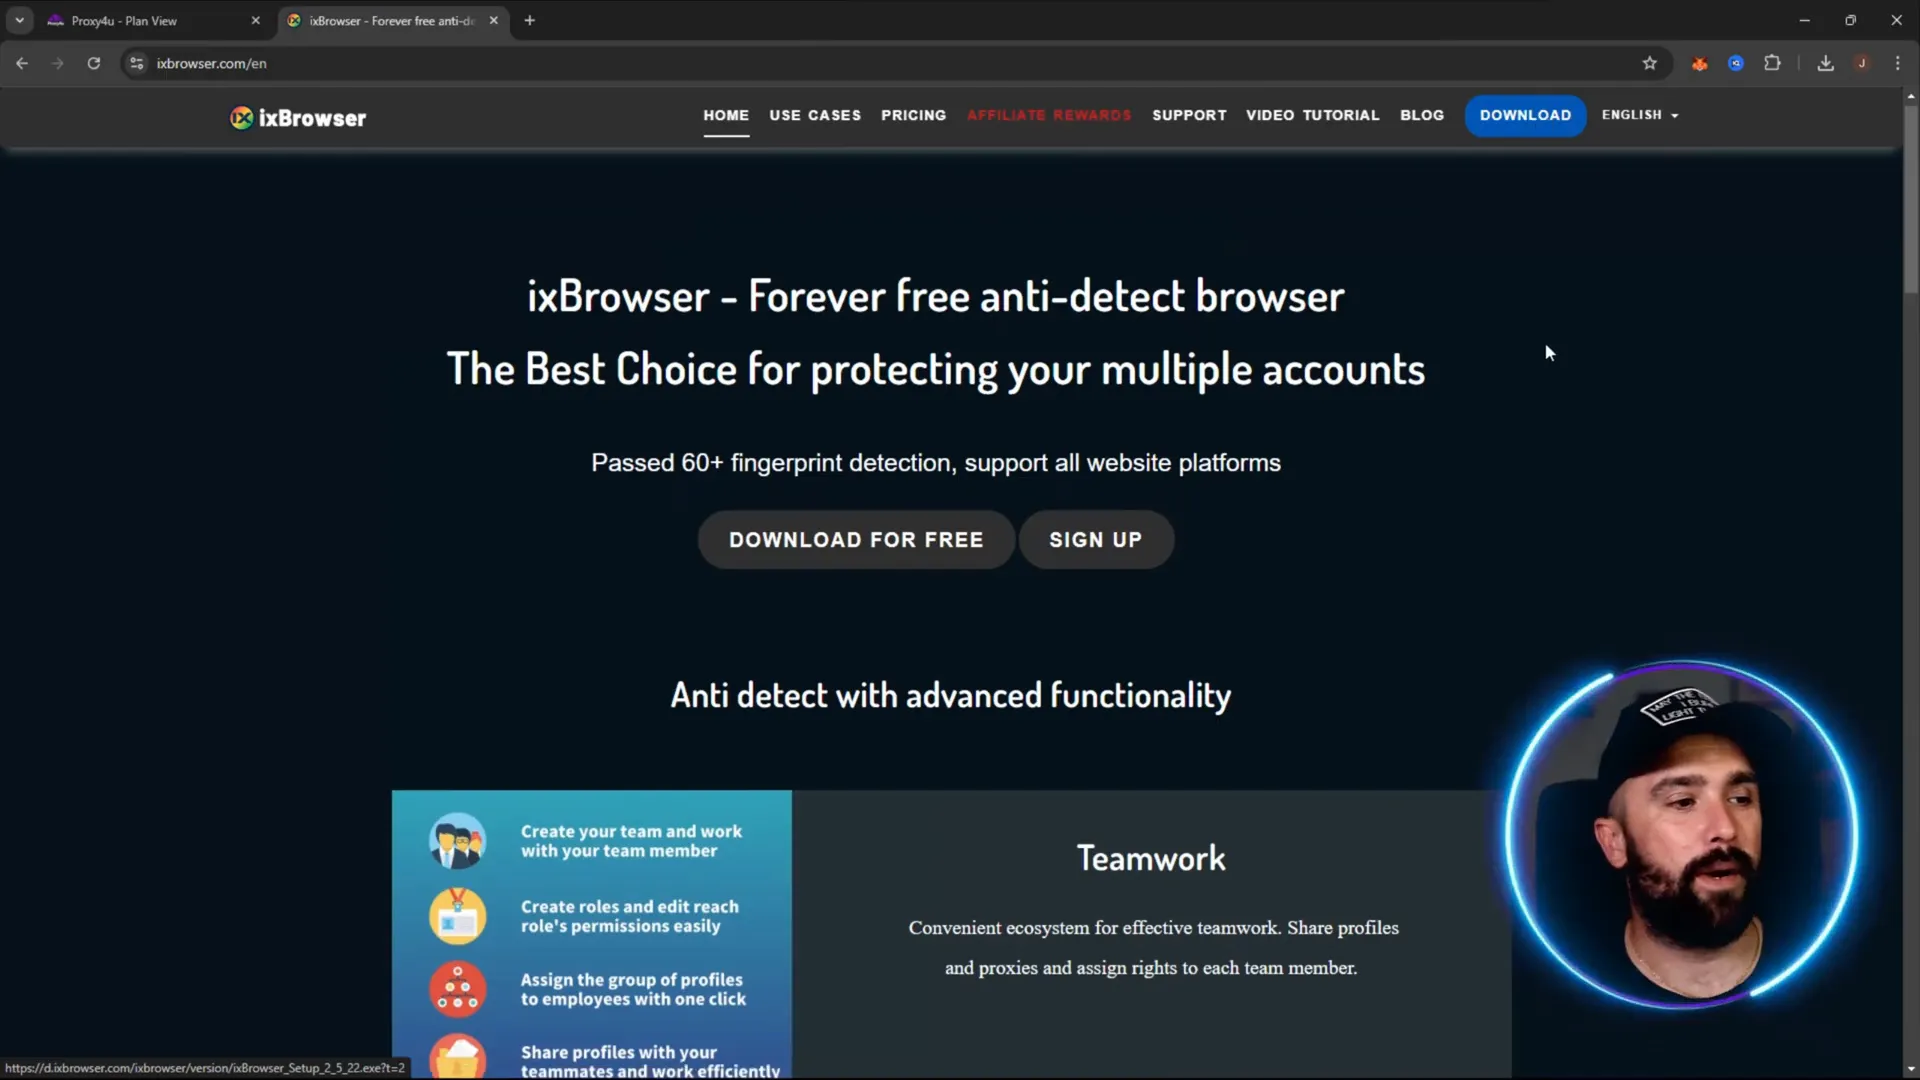
ixbrowser is a forever-free anti-detect browser that helps you isolate accounts using custom fingerprints and IPs. It supports team management, cookie handling, extension support (Chrome extensions), batch operations and cloud backups — making it ideal for SMM, e-commerce, dropshipping and traffic arbitrage.
Pairing ixbrowser with a reliable proxy provider like Proxy4U gives you IP-level anonymity on top of the browser fingerprint isolation. Together they make it far harder for platforms or bad actors to correlate or deanonymize your accounts.
What you’ll set up in this walkthrough
- Create ixbrowser profiles (Facebook, Amazon, etc.).
- Configure Proxy4U proxy credentials for use with ixbrowser.
- Apply a proxy to one profile and reference it from another.
- Open multiple profiles and sync them so actions repeat across profiles.
Step 1 — Download ixbrowser and create profiles
Head to the ixbrowser website and download the app. Once installed and logged in, open your dashboard and click “Create profile.” For this guide I created a couple of simple profiles (e.g., “Facebook 1” and “Amazon 2”). For the first profile you can leave proxy set to “no proxy” while creating — we’ll add the proxy later.
Step 2 — Log into Proxy4U and pick your proxy configuration
Open your Proxy4U dashboard. You’ll see available data (GB balance) and the proxy types (residential, datacenter, mobile). For geographic masking choose the country you want to appear to be in. In the demo I selected Russia (so ixbrowser would show a Moscow IP while I’m physically in London).
Choose the rotation mode: sticky rotation keeps the same IP for a timeframe (e.g., 15 or 25 minutes) before switching. Set the sticky interval you prefer — 15 minutes is a common option for short sessions.
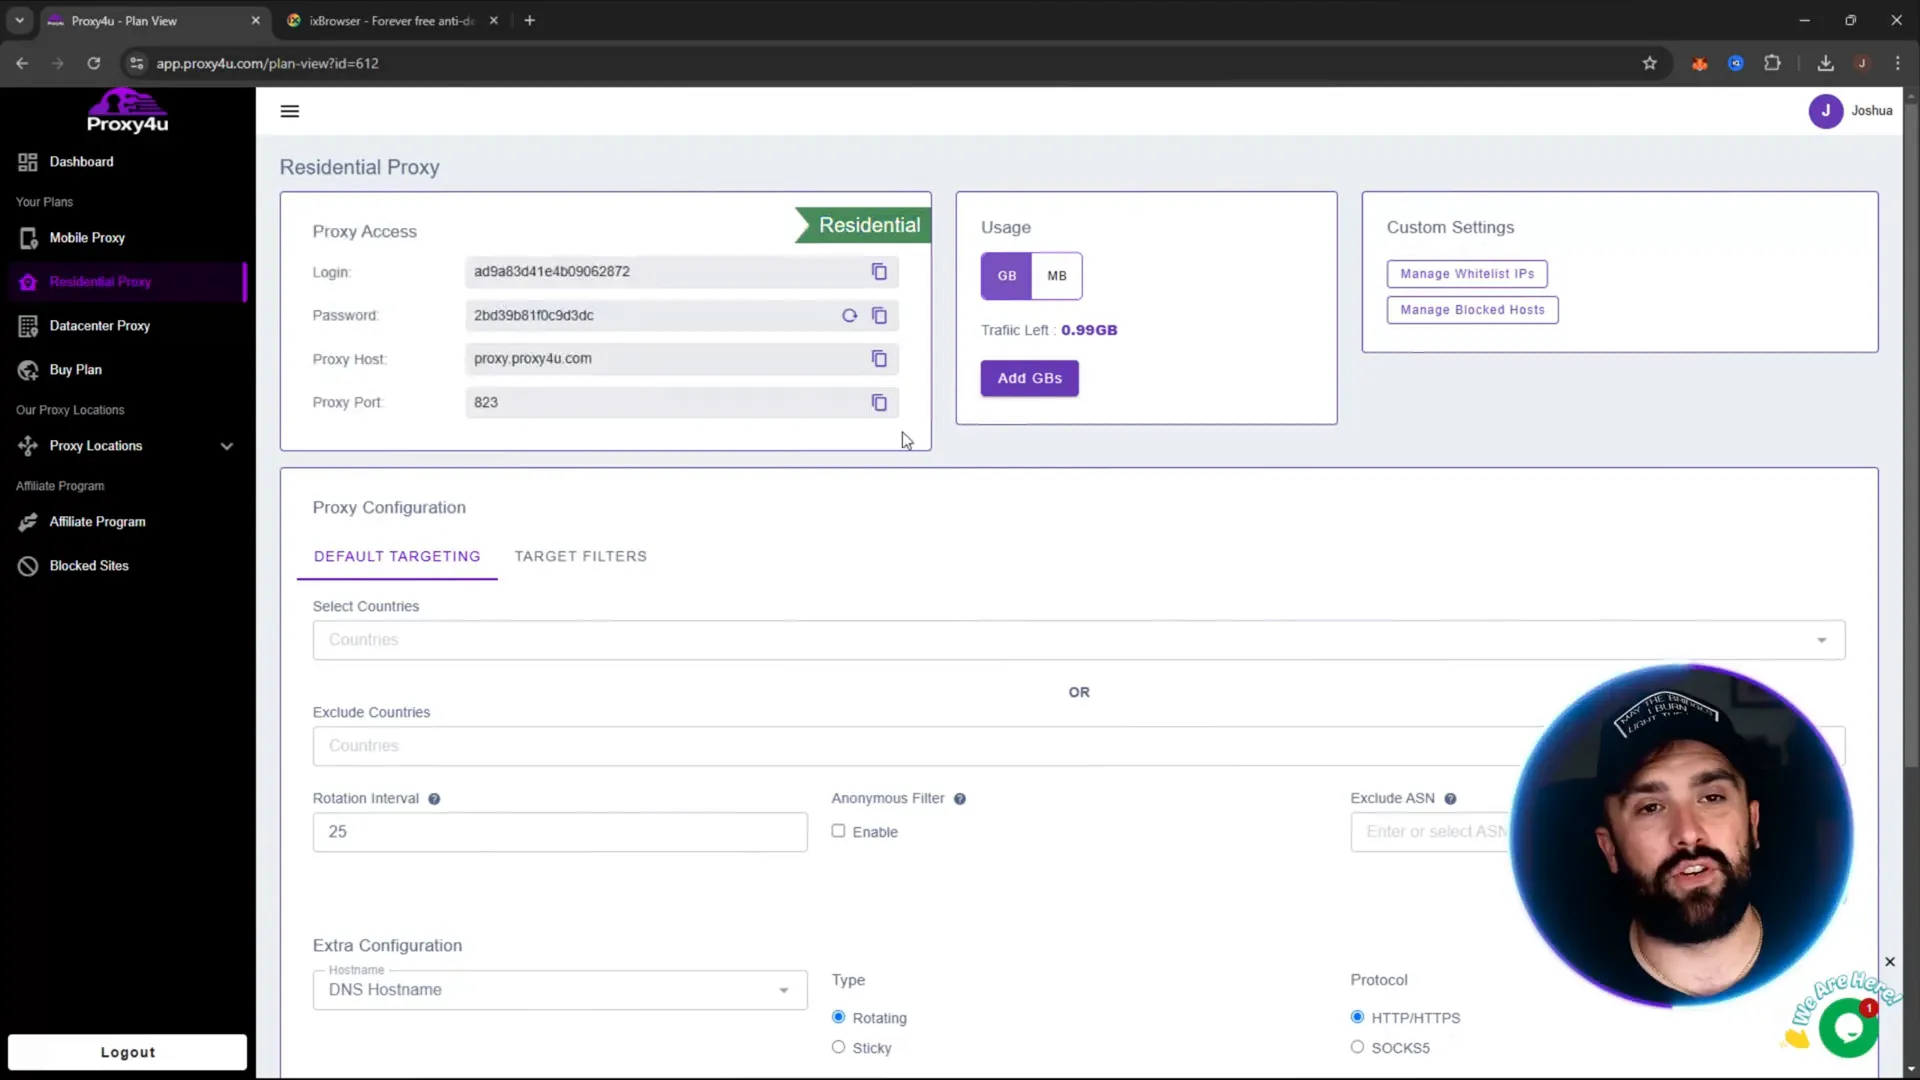
Step 3 — Understand the Proxy4U credentials format
Proxy4U provides a proxy connection string and credentials. The typical format you’ll see is:
- login:password@hostname:port
Where:
- login = your proxy username (the section before the colon)
- password = the section after the colon and before the @
- hostname = the proxy host (for Proxy4U it’s often proxy.proxy4you.com)
- port = the numeric port (e.g., 10000)
Step 4 — Add the proxy to ixbrowser (HTTP pattern)
In ixbrowser open the profile you want to attach the proxy to and choose proxy settings → custom proxy → HTTP (or the protocol you need). Enter the proxy host (e.g., proxy.proxy4you.com) and the port (e.g., 10000), then populate the username and password fields using the credentials from your Proxy4U dashboard.
Make sure you keep everything on the same input line when copying the connection string: username:password@hostname:port and split each part to the proper fields in ixbrowser (host, port, username, password).
Click Create to save the proxy configuration. You should now see the new HTTP proxy pattern listed in your profile overview.
Step 5 — Apply the same proxy to other profiles quickly
Rather than retyping credentials for each profile, ixbrowser has a “reference existing profile” option. Edit the target profile’s proxy settings, choose custom proxy, then choose “proxy referencing existing profile” and select the profile that already has Proxy4U configured. Confirm — ixbrowser will copy the proxy settings for you instantly.
Step 6 — Open in batches and use Start Sync
To control multiple profiles at once, highlight the profiles you want to run in parallel, click “Open in batches” and choose “Open and start sync.” ixbrowser will launch each profile window and enable synchronization so actions in one window replicate across the others. This is very handy if you need to perform identical actions across accounts (SMM, testing or arbitrage workflows).
When sync is active you’ll see a synchronizing status bar. You can stop sync anytime by hitting the “Stop sync” button. Profiles can be closed and ixbrowser will indicate cloud backup in progress and profile closed notifications when sessions end.
Quick troubleshooting and tips
- If a site redirects you (e.g., Amazon redirects to Facebook), that behavior is driven by the site and your current session cookies or region. Clearing cookies or using separate profiles should help isolate those sessions.
- Choose sticky rotation durations that match your workflow — shorter for many different sessions, longer for stable sessions.
- Always test a profile after adding a proxy: visit an IP-check site to confirm the detected country matches your Proxy4U selection.
- Favorite profiles that you rely on frequently so you can find them quickly in the dashboard.
Why Proxy4U is a great fit
Proxy4U offers affordable, feature-rich proxy plans (residential, datacenter, mobile) and makes it easy to get country-targeted IPs with flexible pay-as-you-go terms. Their credential format and sticky rotation options integrate smoothly with ixbrowser. For convenience, check Proxy4U here.
Final thoughts and recommended setup
Using ixbrowser together with Proxy4U gives you two layers of isolation: browser fingerprint isolation and IP masking. That combination is ideal for anyone managing multiple accounts, running market research, or doing arbitrage. Set up a profile per account or per use-case, apply Proxy4U where needed, and use ixbrowser’s sync and batch features to speed up repetitive tasks.
Remember to use these tools ethically and within the rules of the platforms you operate on. For more details on plans and proxy types, visit Proxy4U.
Thanks for reading
If you want a fast start: create two simple profiles in ixbrowser, configure Proxy4U on one using the hostname/port and username/password format, reference that profile from the second one, then open them in sync. You’ll be up and running in minutes — masked to the country you choose and synchronized across profiles.


